
Wiring a new poultry house built on precast concrete
Lebanon County, PA
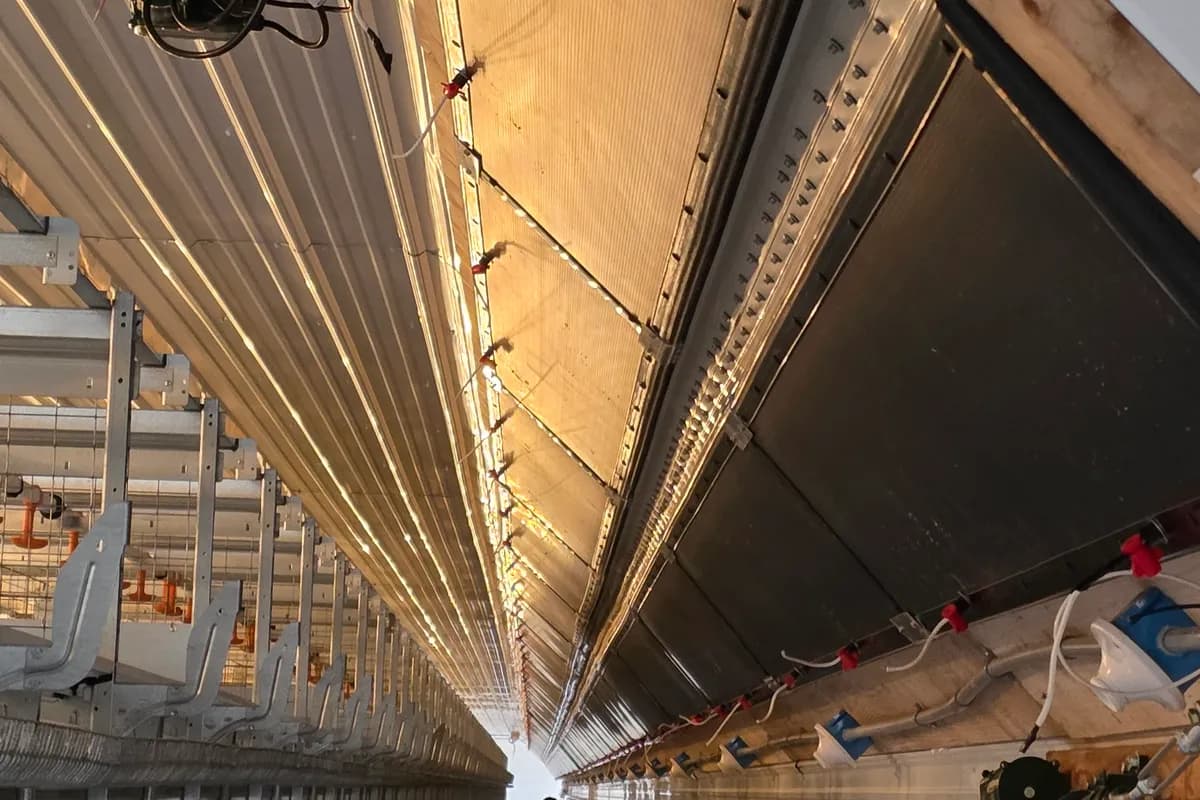
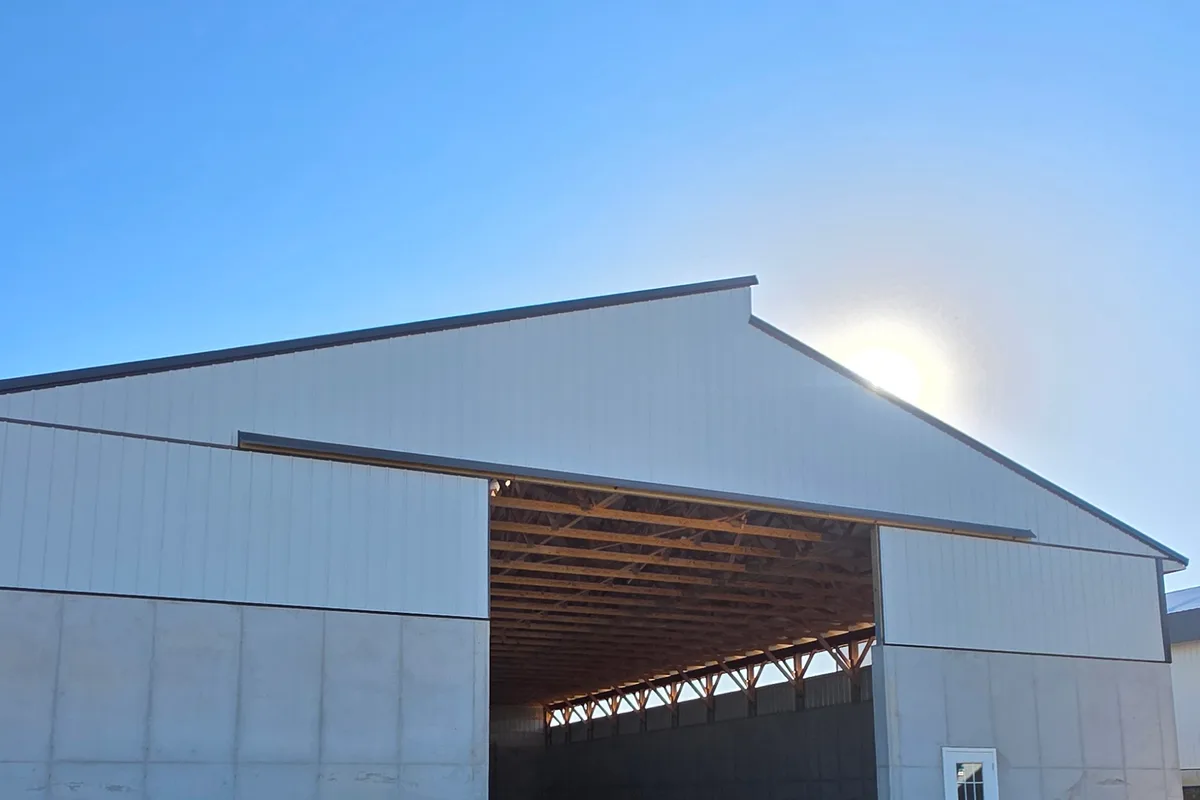
A new poultry house is designed around an equipment list before a single wire goes in, which puts the panel size and the fan circuit count on paper months before the building has walls. This one went up on precast concrete stem walls with metal siding over timber purlins, tunnel fans down one side, and a controller that had to work correctly the week the first flock arrived. This is the electrical side of building a house from the ground, not retrofitting one that already exists.
- Wall construction
- Precast concrete stem walls, metal siding above on timber purlins
- When the service gets sized
- Off the fan and lighting schedule, before equipment is on site
- Hardest deadline
- Sleeves and stub-ups located before the precast panels are set
- Governing article
- NEC Article 547, agricultural buildings
- Handoff point
- Rough-in finished before insulation and liner panel go up
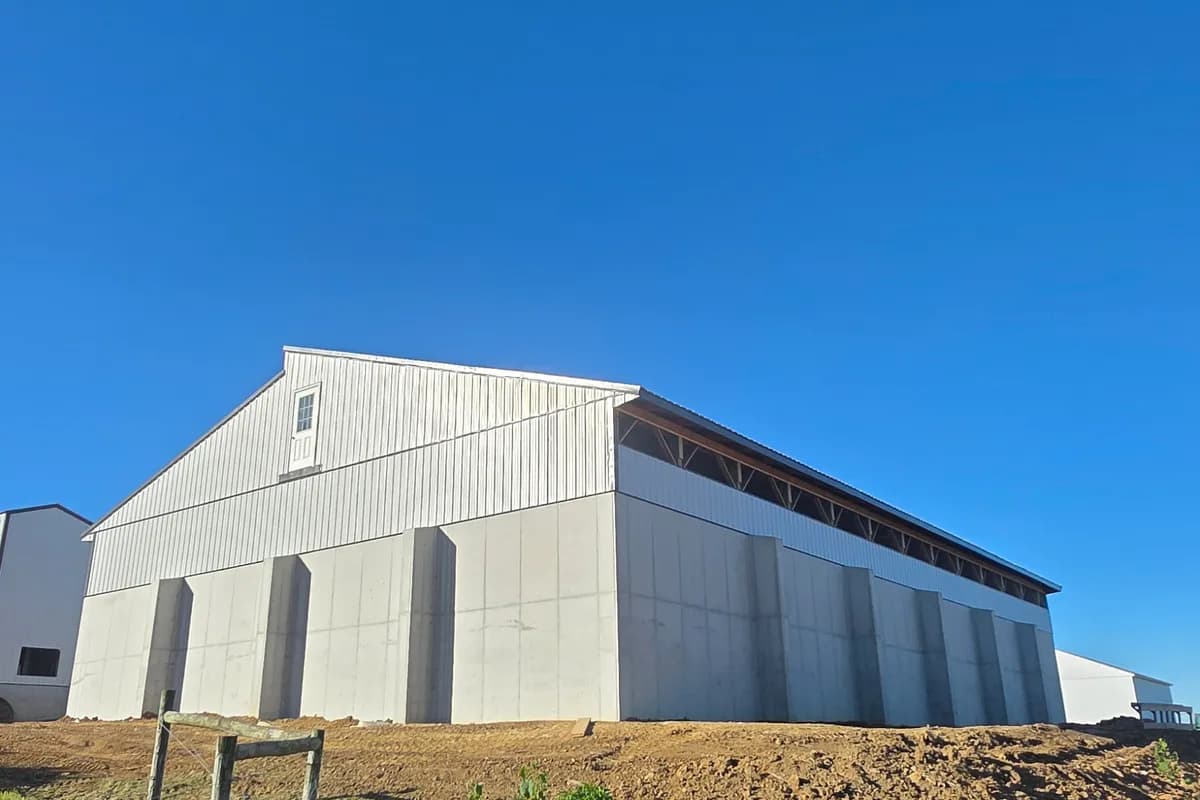
Sizing the panel before the building has walls
On a new house the electrical design starts from a spec sheet, not a walkthrough. The equipment supplier's fan schedule, the controller's output list and the lighting plan arrive before the foundation is poured, and the panel, feeder and service size all get decided from those numbers rather than from anything standing on the site. That is the opposite of most of the agricultural electrical work we do, where the question is how to upgrade a service that has grown past what it was built for.
Getting that number right the first time matters more here than on a retrofit, because the service and the main feeders are among the first things installed and among the hardest to change once the slab and the stem walls are in. Undersizing by one fan stage or one lighting zone means a second feeder run later, often through concrete that was never meant to be opened again.
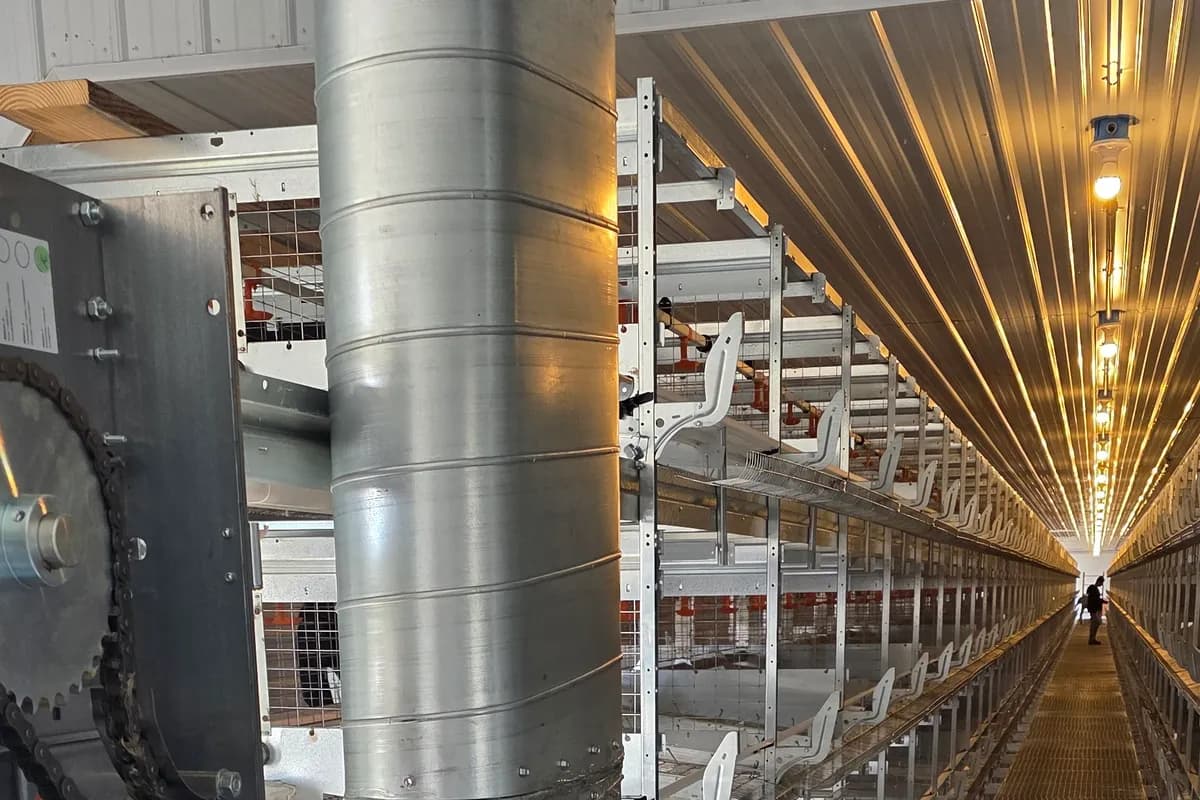
Conduit has to go in before the precast panels stand
A pole barn gives you open timber framing to work around for most of the job, which is the whole premise behind wiring a pole barn from the empty shell. Precast concrete stem walls do not forgive the same way. Any sleeve, stub-up or penetration through the wall has to be located and coordinated with the precast supplier before the panels are cast, not decided on site with a hammer drill after they are standing.
That pushes real electrical decisions back into the pre-construction schedule, sitting down with the plans before the panels are poured and marking exactly where service conductors, ground rods and any wall penetrations for equipment need to land. Miss one and the fallback is surface conduit on finished concrete or coring through reinforced panel, neither of which belongs on a building meant to last decades.
Where the yard itself needed upgrading to feed the new house, that work runs alongside this one rather than after it, which is the ground covered in rebuilding a farm service entrance.
Running circuits for fans that have not arrived yet
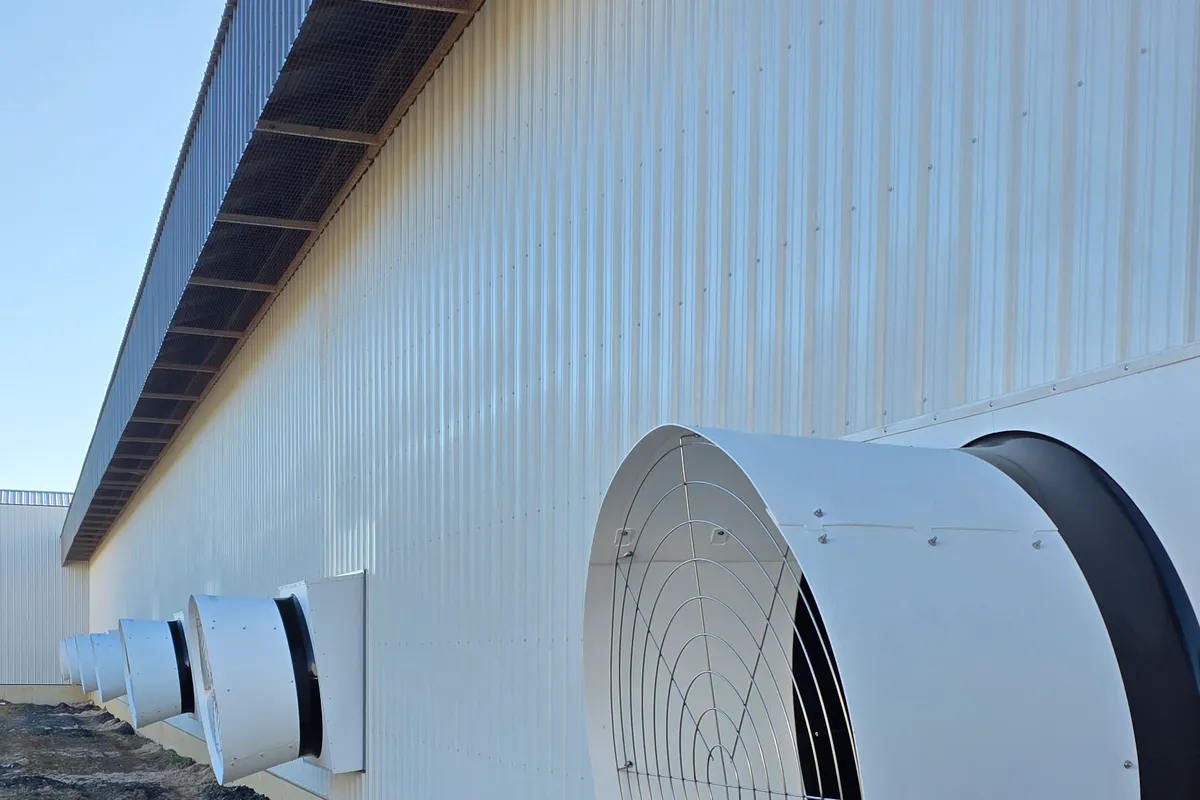
Tunnel fans go in late in the build, often after the siding is closed up, but the raceways and home runs feeding them have to be roughed in while the wall framing is still open. That means working from the fan manufacturer's spacing and horsepower schedule rather than from fans you can see and measure, sizing conductors for the full load and locked rotor current the spec sheet promises rather than for whatever shows up on the truck.
A tunnel house here commonly runs five hundred feet or more end to end, which puts the far fans a long way from the panel. Voltage drop at that distance is not a rounding error. It is the difference between a fan bank that starts cleanly on the hottest afternoon of the summer and one that lags and runs hot for the next five years, so conductor sizing gets a size of headroom built in rather than the bare ampacity minimum.
Every home run gets tagged at both ends during rough-in, panel and wall box, because the crew that lands the fans months later is very often not the crew that pulled the wire. The deeper controls and alarm side of this same fan bank, sensors, dialers and the generator interlock, is covered in ventilation power and controller wiring for a poultry house.
Lighting the full length of the house in one plan
House lighting runs the length of the building on a program tied to bird age, dimming low in the first days and climbing as the flock grows, which means the fixtures, the dimming circuit and the zoning all have to be settled before the ceiling liner goes up and the run becomes a fight to access. Fixture spacing follows the purlin layout rather than a generic foot spacing, so the lighting plan gets checked against the structural drawings before anything is mounted.
Running that circuit the length of an aisle while the steel ceiling is still open is the easy version of the job. Doing it after liner panel is installed means fishing wire through a finished ceiling in a building that was never meant to be opened again, which is most of the reason the barn lighting retrofits we do, like relighting a free stall barn, take longer than the original installation ever did.
What gets labeled before the building closes up
There is no drywall in a poultry house, but there is a point after which the panel and the circuits become hard to inspect: once insulation and liner panel go up, what is behind them is settled for the life of the building. Everything gets a permanent label and a circuit directory while it is still open and still clean, because litter dust and ammonia will coat every surface in the house within the first flock cycle and nobody will want to trace a wire by hand after that.
The same conditions that make labeling worth doing early are what Article 547 is written around: gasketed enclosures, corrosion resistant fittings and terminations that can be opened for inspection without taking the building apart. Choosing that gear during rough-in, before the dust exists, is cheaper and more reliable than retrofitting it into a working house, and it is work that pairs naturally with scheduled control panel and machine wiring once the equipment is running.
- Service and feeder size set from the equipment spec sheet, not a walkthrough
- Wall penetrations located and confirmed before precast panels are cast
- Home runs for fans sized and tagged before the fans themselves arrive
- Lighting circuit planned to the purlin layout while the ceiling is open
- Corrosion resistant gear specified before dust and ammonia are in the building
Trim-out after the equipment shows up
Rough-in gets the building ready. Trim-out is where the house actually comes alive, once the cage or floor equipment, the curtain machines and the feed system arrive from the integrator and need final connections, disconnects and overload protection matched to the nameplates in front of you instead of the spec sheet. That handoff from rough-in to equipment connection is its own piece of work, covered in connecting the drive motors inside a poultry house.
Between the two ends of the job, the house goes from an empty concrete and steel shell with tagged wire ends hanging out of the walls to a building a controller can run on its own. Most of what makes that transition go smoothly was decided before the first flock was ever ordered.
Services used on this job
Got something like this coming up?
Tell us what the building is and what it has to run. We will tell you what it needs and what it takes. The phone is answered around the clock.